Xplanet on OSX
Installation
Installation of Xplanet on OSX is rather simple, while the configuration is simple as well, if it would only be documented for simple usage. Xplanet is extremly powerful and has a lot of possibilites, please check its homepage. But the simple display of the classical blue marble background with day and night limits plus clouds is easily achieved.
Installation can be done using Homebrew. The standard files will be in ${HOMEPREW_HOME}share/xplanet (so /opt/homebrew/share/xplanet on an Arm Mac).
On OSX, Xplanet will look for a directory ~/Library/Xplanet. Your own maps (=earth images etc.) and config files can be stored there to be safe from an Homebrew update of Xplanet.
Install the basic Xplanet and create the initial files.
brew install xplanet
XPLANETHOME=$(brew --prefix xplanet)
mkdir -p ${HOME}/Library/Xplanet/images
cp ${XPLANETHOME}/share/xplanet/images/earth.jpg ${HOME}/Library/Xplanet/images/earth2k.jpg
cp ${XPLANETHOME}/share/xplanet/images/night.jpg ${HOME}/Library/Xplanet/images/night2k.jpg
touch ${HOME}/Library/Xplanet/default
xplanet -num_times 1
xplanet -num_times 1 -projection mercator
During the first 2 runs of Xplanet OSX (at least on Monterey) will ask for the permission to access/change the desktop settings. You will need to grant it once.
Try different settings for -projection. No value (discard the switch completely), mercator, rectangular … there are more available.
Configuration
Configuration using your own map files is simple. Create a file called default in ~/Library/Xplanet containing the following lines:
# all images need to be of the same resolution
map=earth2k.jpg               # This image needs to be cloud-free
night_map=night2k.jpg         # This image needs to be cloud-free
cloud_map=clouds2k.jpg
cloud_threshold=120
You can find the default files in ~/Library/Xplanet/images. You may replace these files with anything you like. All images (day, night and clouds) need to be of the exact same size, otherwise a warning is created. And cron may send you a mail everytime that warning is created.
There are some nicer files available, if you do not like the ones supplied with Xplanet:
- NASA Visible Earth. Search vor Blue Marble and Black Marble.
- Jan Kaluzas nice night map
- there is a 2k day image at Xglobe
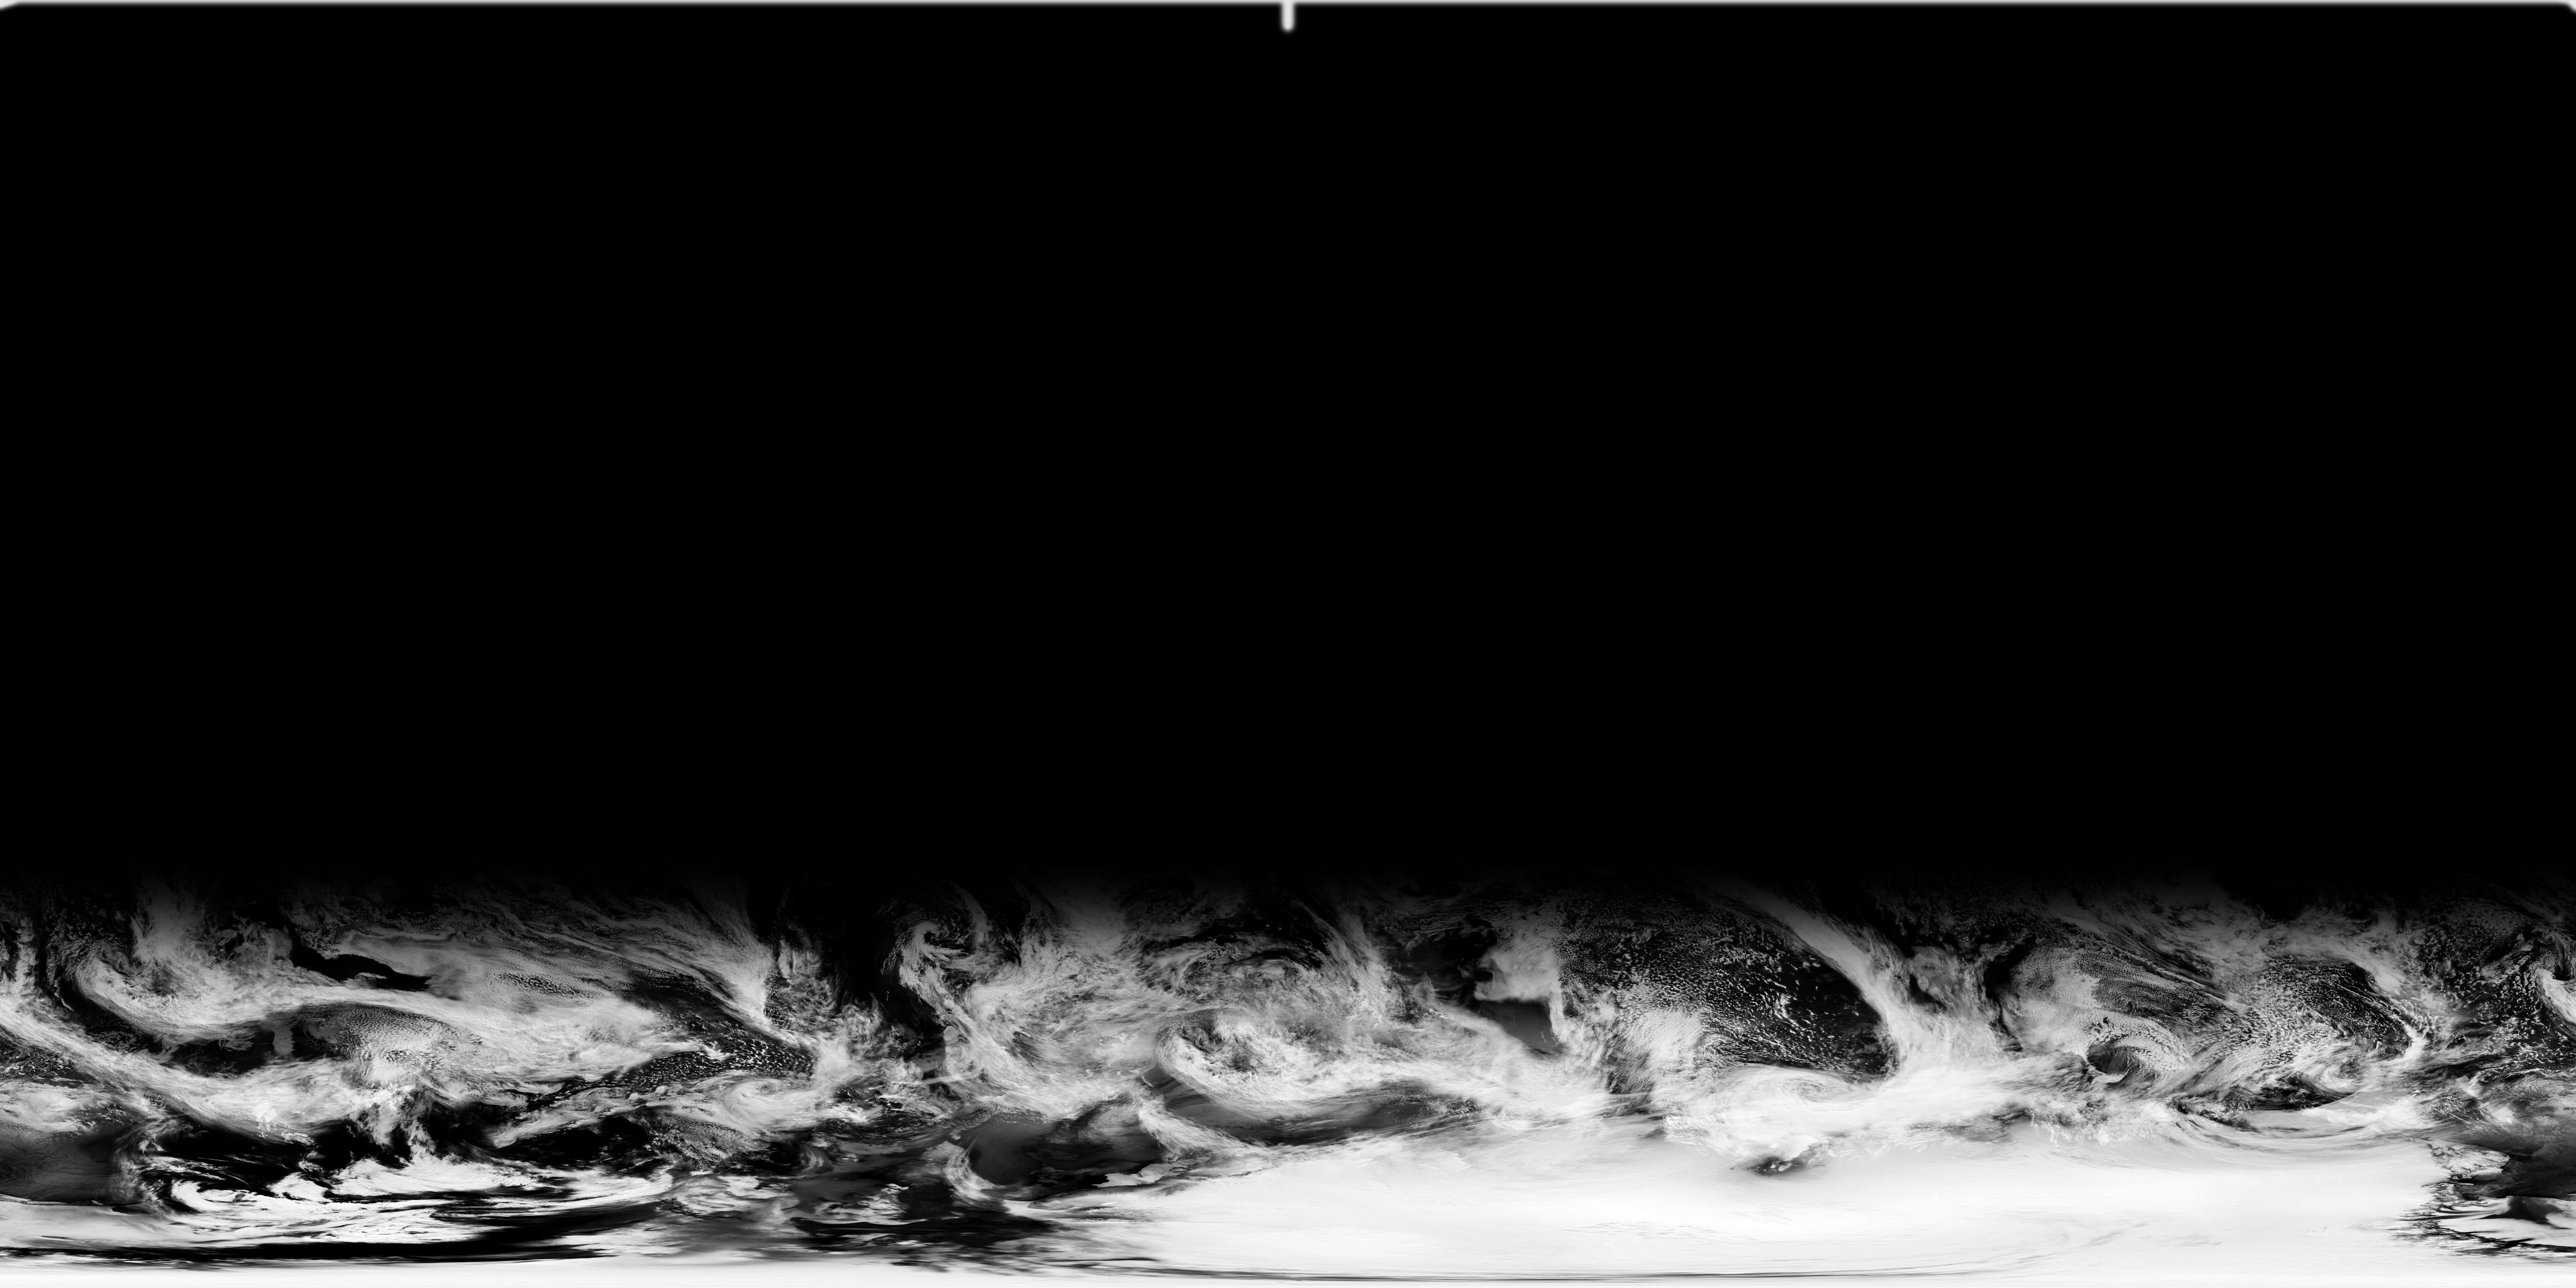
Getting clouds
In 2022 it is surprisingly difficult to find regularly updated cloud maps. Thankfully Matt Eason provides some.
The images get updated once a day, seems to be around 15:30UTC.
Download the clouds using :
curl https://matteason.github.io/daily-cloud-maps/2048x1024-clouds.jpg -o ~/Library/Xplanet/clouds2k.jpg
Automation
Automation can be realised using CRON easily. We need to run Xplanet frequently to have a visible progress of the night and day borders. It is sufficient to download the clouds once a day.
Add the following lines using the command crontab -e:
*/30 * * * *    /opt/homebrew/bin/xplanet -num_times=1 -projection mercator > /dev/null 2>/dev/null
45 17 * * *    /usr/bin/curl -s https://matteason.github.io/daily-cloud-maps/2048x1024-clouds.jpg -o ~/Library/Xplanet/clouds2k2.jpg > /dev/null 2>/dev/null
Please check and adjust the path to xplanet using which xplanet. The above will be correct on M1 Macs, but the path is different on Intel machines.
The first line will execute xplant every 30 minutes. The second one will download the clouds file at 17:45 of this machines local time (CEST).